Sunday, August 14, 2011

Small Gallery Wall


About a month ago I ordered a canvas for my front room wall. My wall was looking old and frumpy and it needed a little sprucing up.
I had this painting from a while ago.

But I'm really over it right now. {BTW a funny note- notice how yellow the wall is in this picture. My walls get pretty lemony at night. The first night after painting them I cried thinking I had made a big mistake because of how yellow they were. But then, when it was morning again, the walls were much more calm in the morning/daylight and I loved them. Haha.}

Anyways, my canvas came last week and I was able to hang it up with a few other pictures I had set aside for this wall. YAY!


I eventually want to do a family picture on a canvas but due to being a recently pregnant (YES 6 months ago is recent... :) ) nursing mother, I am still feeling a bit frumpy myself. In a few more months I'm going to have a family photo taken.


These small blue frames have mirrors in them but I decided that they looked better with pictures in them for now, so I taped the pictures over the mirrors for a quick fix!


I'm liking this wall much better now, but I'm not sure if it's finished. I may add some more to the sides. Yes?


Now I just need to do all of the other walls in my house! haha :)


The DIY Show Off

Cherished Treasures”=
Tatertots and Jello

Wednesday, August 10, 2011

Wet Polish Wednesday

So...should I start something like this? I do nails so much that I think I will.

Anyways, did these for my sister last week.


I love giving pedis! :) What do you think?

Monday, August 8, 2011

Shhhh!


My dog is an awesome dog. She can be very cuddly, doesn't jump up or bark hardly at all and is the sweetest thing ever. Except... for when someone comes to the door. She goes crazy and growls and barks. Which is actually kind-of nice for when unwanted robbers may come lurking. But not so great when the baby is asleep.

With Harrison finally starting to nap more regularly {kinda}, my door has been frequently knocked upon and my doorbell rung (and I usually never had anyone come to the door prior to baby). Luckily, it has yet to have woken the sleeping baby {NEVER NEVER EVER WAKE THE SLEEPING BABY!} But, I knew it would inevitably happen.

Therefore, I decided to make a sign to put up, that way I can at least try to avoid him being woken up as much as possible.


I thought it was pretty cute and with the way my door handle hangs and the size of the sign, hanging on the doorbell is pretty much the only place to put it.
I figured that someone still has to knock. How else would I know someone was there? But, at least the doorbell wouldn't be rung.

wrong!

I guess this sign interprets to "PLEASE ring the doorbell THREE times just in case we didn't hear you the first time!!!"

I guess my sign is a little too nice. What do you think?

Wednesday, August 3, 2011

Original-Hem Jeans Tutorial in 30 minutes

So if any of you have not noticed by now, I am extremely short. And all of my life, because of my shortness, I have been plagued by pants being too long for me and my short legs.

Now, there are three options in a situation where your pants are too long:

1. Pay to get them hemmed professionally
2. Cuff them (if they aren't too long to look ridiculous)
3. Wear them long until they get all ripped in the back and start trailing long threads of jean pieces behind you as you walk {my personal favorite}

As of today I have found a fourth option:

4. Hem them yourself and look fabulous


My sister in law was nice enough to show me this technique and I am happy to say that it will forever save me from the way-too-long-jeans faux pas!

And now, I am showing it to you!


For starters, you should know that this isn't where you actually sew an original hem yourself. It's kind of a "cheat so no one even notices that you cut and sewed the pants yourself" technique.

And bear with me, this is my first tutorial!


Items needed:

Sewing machine
Thread that matches your jean color {this makes it look the best because some of the sewing is on the outside of the jeans}
Zipper foot {for best results}
Iron
Ironing board
Seam ripper {ha ha- for those "oops" moments}
Scissors
Diet Coke with Vanilla {but of course}


First, you take your way too long jeans {and thanks to my sister for being the model and for letting me hem her jeans}:


Then you cuff them up to where you want them to be. The main choice I had to make is to either make them Heels jeans or Flats jeans length-wise. Sometimes you can get away with something in the middle than can go for both, but in my case, it's one or the other. These are going to be Heels jeans.


Another choice both my sister and I had to make when choosing the length is whether or not to keep the lengths the same on both legs. Both of us had significantly different measurements on each leg {because one leg is apparently longer than the other}. We both decided to keep the lengths the same. But if it really bugs you, you can make one longer to fit your longer leg ;)


Next, you take off the jeans and measure the length that you cuffed up.


Then you need to re-fold the cuff to half of the length you just measured. For example, the original length we measured was 3 1/2 inches. So, when we re-folded the cuff, it measured at 1 3/4 inches.


Then you need to pin it. I measured it once at each seam and once at each middle in between the seams and pinned it.

Now, you sew the pants with a zipper foot {this way you can get right next to the original hem line} all of the way around.


**Be careful not to stretch the material. It will bunch up and then it will look off when you're done. Just let the machine pull it.**
I tried to line up the inside bottom hem as best as I could but it was tricky. Just do your best.

Once you have sewn all the way around, fold the cuff back down and iron it flat.


Now, on the outside of the jean, you need to sew all the way around on the opposite side of where you just sewed. This is where having a matching thread is really important. Ours wasn't exact and while it's not very noticeable, it's even less noticeable with a properly matching thread. {we didn't want to make the trip to Joanns today}


Now, fold the cuff back up. Here is where it can get tricky. If you have an awesome serger like my sister in law, you can cut and serge the left over fabric {or have your serger cut it for you!}. If you don't, you can cut off the extra fabric and zigzag stitch it over the edges like I did. Either way, the most important thing is to be careful while serging and sewing and make sure that you don't sew or serge the fabric back onto the jeans. I knew about this being an issue going into it and it still got me! My solution was to double fold the cuff back so I could make sure that I was only sewing the extra portion together, and not sewing the extra portion back onto the jeans!


Fold it back down and iron again!

DONE!
I told you it would only take 30 minutes!


The only other thing I noticed with this specific pair of pants is that the wash may be lighter or darker where you sew it together, depending on how high you hem them. So be careful if the bottoms are darker or lighter, it will make it more obvious.


Can you tell that it's cut? I can't! :)

I hope you enjoyed my tutorial! Let me know what you think.
i'm linking!


The DIY Show Off

Todays Creative Blog


Beyond The Picket Fence

The Shabby Creek Cottage

Cherished Treasures”=

Sunday, July 31, 2011

Canvas project

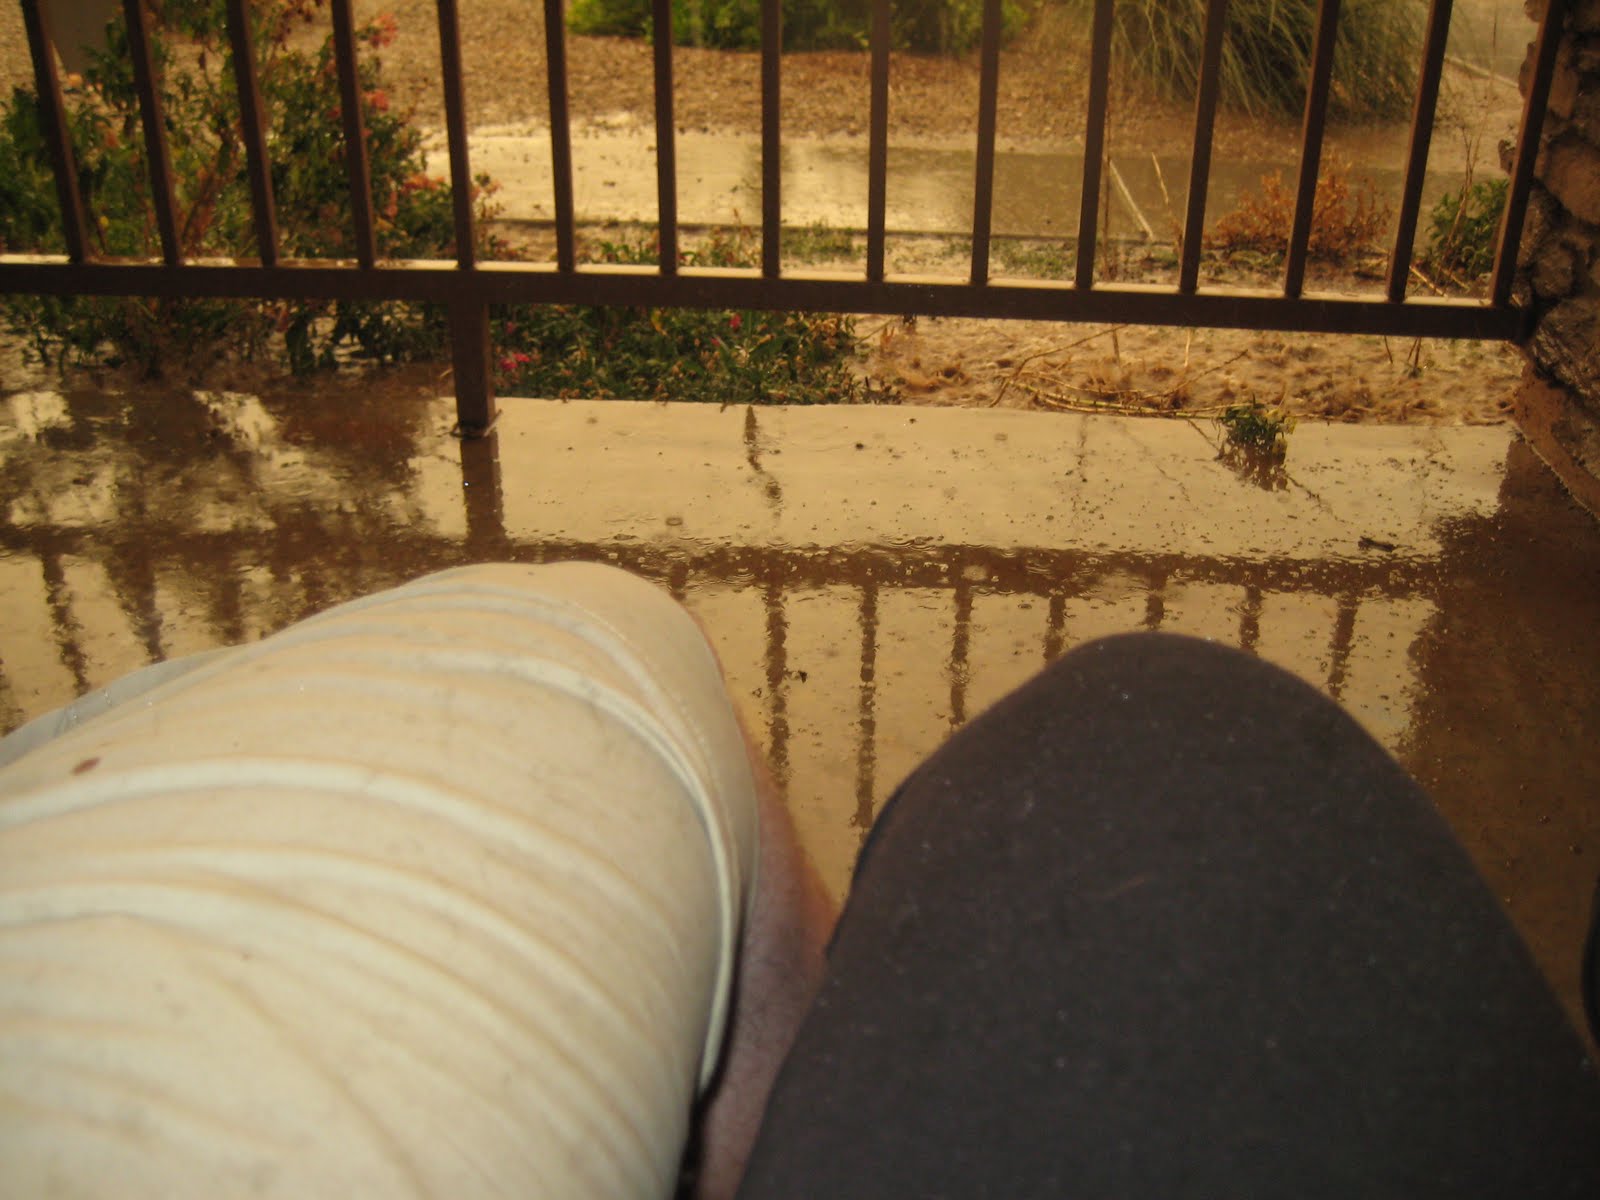
It rained today! And not just rained- like freakishly went from cloudy to pouring to hailing to dry. All within about 20 minutes!

Kendall and I did what we always do when it rains out. or when it's nice out. or all the time.


sit on the porch!

I took pictures. I need to take more pictures. Kendall is so happy in this one.


Lots of rain! :) Love it!


I decided to use my rainy evening to work on a project that I've been thinking about for a while. I got my inspiration from here and everything I used was already around the house except for the pictures.

Ta-da!


I had this canvas lying around for about a year and a half... I know! Something needed to be done.


Since I haven't any recent pictures that I enjoy of myself, I chose some from our wedding day. May 30th 2008! 3 years already.


This broach belonged to my grandma. Those are real dried flowers inside. It even has matching earrings! The lace on all of these belonged to my grandma as well.


I finally sucked it up and made my first set of fabric rosettes. I cheated and used hot glue instead of fabric glue but I don't care!


It needed a word. So why not love? All you need is love.


It was really fun and I'm excited to hang it up. I just ordered a new canvas for my front room and I'm hopefully going to be creating a gallery wall! I'm super excited and I think this will be part of it once I get things together.

peaceout

i'm linking!


The DIY Show Off
Cherished Treasures”=
Todays Creative Blog


Beyond The Picket Fence

Monday, July 18, 2011

The boy who lived... or cried


Babykins is in his own room now and it's a bittersweet relief. I'm happy that he is only waking up once a night to eat and is taking great naps but I'm sad that my baby isn't right next to me at night. Ahhhh well, I'm sure once I get used to it {I keep on waking up thinking he is going to need to eat} I will enjoy being able to sleep for more than 4 hours in a row!

I'm finally getting into a summer routine. I've been working out, swimming more, reading, {painting nails- my fav!}, and shopping of course. It's nice to finally enjoy the time I get to stay at home.

I made a trip to goodwill and made some excellent finds for some future crafting. I will have to take pictures and post later. My next big project is a gallery wall for my front room. I'm going to be ordering a few canvases and I think the picture above is going to have to be one of them! My Father in Law did an amazing photoshoot with Harrison and myself when he was 3 months old and I am so excited to hang up the pictures!

Anyways, not much else going on {other than HARRY POTTER!!!! Only the most important summer event ever}. My sister in law has a screen printing machine and so we made Harrison this awesome onesie:


Glasses courtesy of amazon (I wore them to the theater) and lightening bolt courtesy of yours truly.

He is Harrison Power... Harry Power...Harry Potter... okay close enough. {but we won't be calling him Harry}

Anyways we had some fun with this whole thing. Unfortunately I wasn't able to make it to the midnight showing but my SIL also made some shirts for us all to wear (I don't have a photo uploaded yet) so we wore them and had a fun time on Saturday morning. Soooo good. I can still remember going to the midnight book releases and staying up all night to finish reading. I don't think I will find another series as good as Harry Potter. I'll just have to keep re-reading them :)


Tuesday, July 5, 2011

Summer Favorites

I felt like posting a list of some of my favorite things to do in the summer... Sooo here it is!

  • Reading... always a favorite but it seems like a lot of people take more time to read in the summer, meaning more recommendations to share with me ;)

  • Swimming. I only get about 30 minutes of a happy baby but between his aunts, cousins, grandmas, and the hubster, I still get in an hour or two.

  • Watermelon. sooo good.

  • Vacations. Even though I haven't gone on a vacation since I got pregnant last year, I remember summer trips from years past and miss them.

  • Movies. Basically this is all about Harry Potter coming up. Soooo excited.

There are plenty more favorites but these are my top choices. What about you?